Note
Go to the end to download the full example code.
Plotting fermi3d cross_section#
Symmetry does not currently work! Make sure for fermi surface calculations turn off symmetry
Plotting fermi3d cross_section example.
First download the example files with the code below. Then replace data_dir below.
Downloading example#
 data_dir = pyprocar.download_example(save_dir='',
                             material='Fe',
                             code='vasp',
                             spin_calc_type='non-colinear',
                             calc_type='fermi')
# sphinx_gallery_thumbnail_number = 1
import pyvista

# You do not need this. This is to ensure an image is rendered off screen when generating exmaple gallery.
pyvista.OFF_SCREEN = True
importing pyprocar and specifying local data_dir
import os

import pyprocar

data_dir = os.path.join(
    pyprocar.utils.DATA_DIR, "examples", "Fe", "vasp", "non-colinear", "fermi"
)

# First create the FermiHandler object, this loads the data into memory. Then you can call class methods to plot
# Symmetry only works for specfic space groups currently.
# For the actual calculations turn off symmetry and set 'apply_symmetry'=False
fermiHandler = pyprocar.FermiHandler(code="vasp", dirname=data_dir, apply_symmetry=True)
WARNING : Fermi Energy not set! Set `fermi={value}`. By default, using fermi energy found in given directory.
---------------------------------------------------------------------------------------------------------------
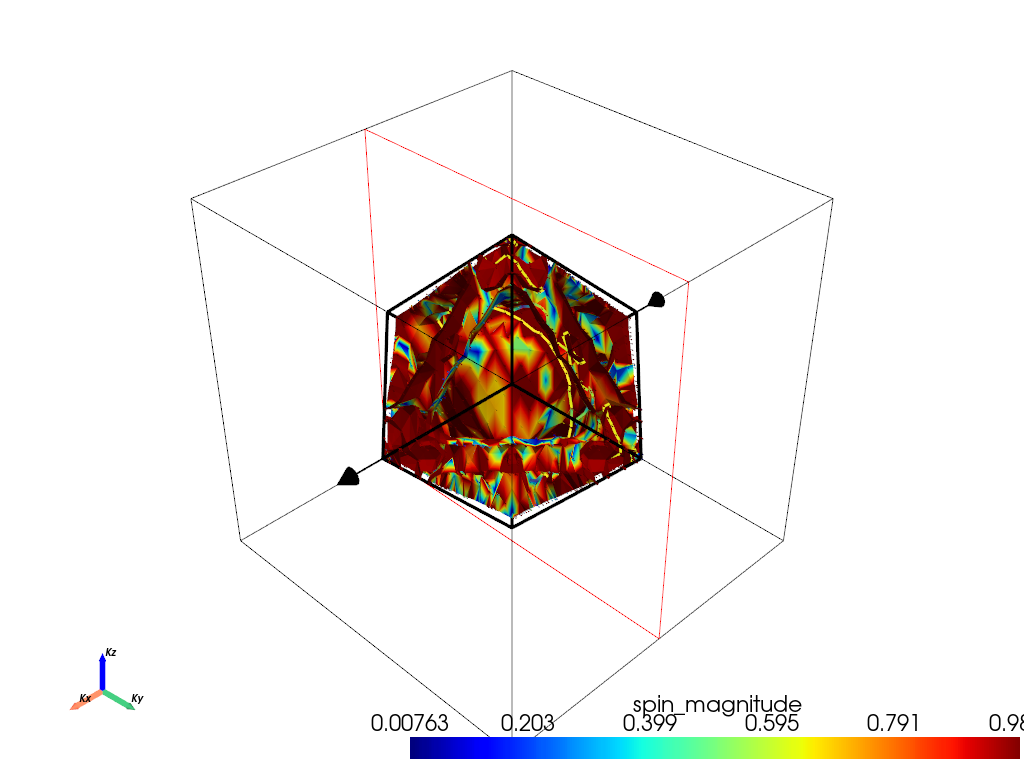
Cross section#
# show_cross_section_area can show the outermost cross section area
show_cross_section_area = False

# slice_normal is the initial orientation of the the cross section plane widget
slice_normal = (1, 0, 0)

# slice_origin is the initial position of the center of the cross section plane widget
slice_origin = (0, 0, 0)

# line_width is the size of the line of the cross section
line_width = 5.0

# when you run this code, you will be able to adjust the widget manually.
# If you want to save the position of the widget use this keyword argument to save an image.
# This must be a string to the filename where you will save the image
# save_2d_slice=''

fermiHandler.plot_fermi_cross_section(
    slice_normal=slice_normal,
    slice_origin=slice_origin,
    cross_section_slice_linewidth=line_width,
    mode="spin_texture",
    spin_texture=True,
    arrow_size=0.5,
    show=True,
    max_distance=0.3,  # This parameter controls the max distance to search for adjacent points for interpolation.
    # Lowering could speed the ploting, but too low could make the interpolation fail
)

                --------------------------------------------------------
                There are additional plot options that are defined in a configuration file.
                You can change these configurations by passing the keyword argument to the function
                To print a list of plot options set print_plot_opts=True

                Here is a list modes : plain , parametric , spin_texture , overlay
                Here is a list of properties: fermi_speed , fermi_velocity , harmonic_effective_mass
                --------------------------------------------------------

ij,uvwabj->uvwabi
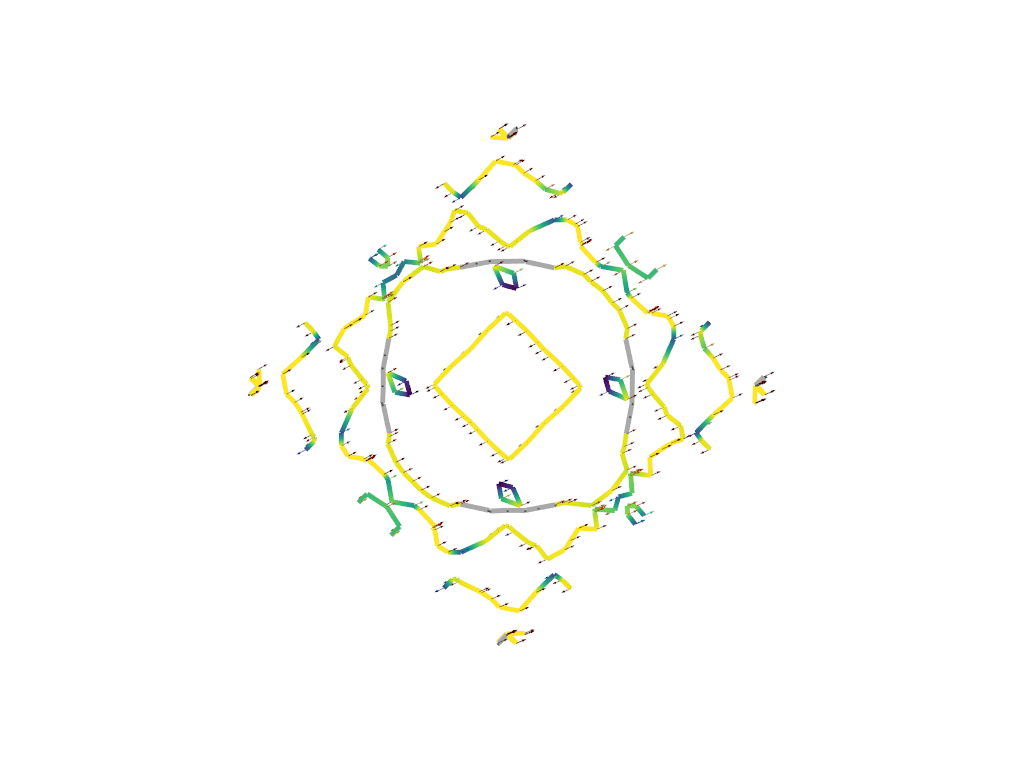
Cross section. Save slice#
# when you run this code, you will be able to adjust the widget manually.
# If you want to save the position of the widget use this keyword argument to save an image.
# This must be a string to the filename where you will save the image
save_2d_slice = "2d_slice.png"

fermiHandler.plot_fermi_cross_section(
    slice_normal=slice_normal,
    slice_origin=slice_origin,
    cross_section_slice_linewidth=line_width,
    mode="spin_texture",
    spin_texture=True,
    arrow_size=0.5,
    save_2d_slice=save_2d_slice,
    show=True,
)
--------------------------------------------------------
There are additional plot options that are defined in a configuration file.
You can change these configurations by passing the keyword argument to the function
To print a list of plot options set print_plot_opts=True

Here is a list modes : plain , parametric , spin_texture , overlay
Here is a list of properties: fermi_speed , fermi_velocity , harmonic_effective_mass
--------------------------------------------------------
Total running time of the script: (0 minutes 15.681 seconds)